
Turn inspection photos into one A4 PDF report
You have several inspection photos and need to send one attachment. Separate pictures are easy to miss in a long email thread. A PDF keeps them together in a defined reading order and gives the recipient one file to open.
When this helps
This works for a visual project update, a record of damaged packaging or a simple site inspection handoff. It creates a photo packet; it does not write observations, identify defects or invent a report narrative.
Prepare your files
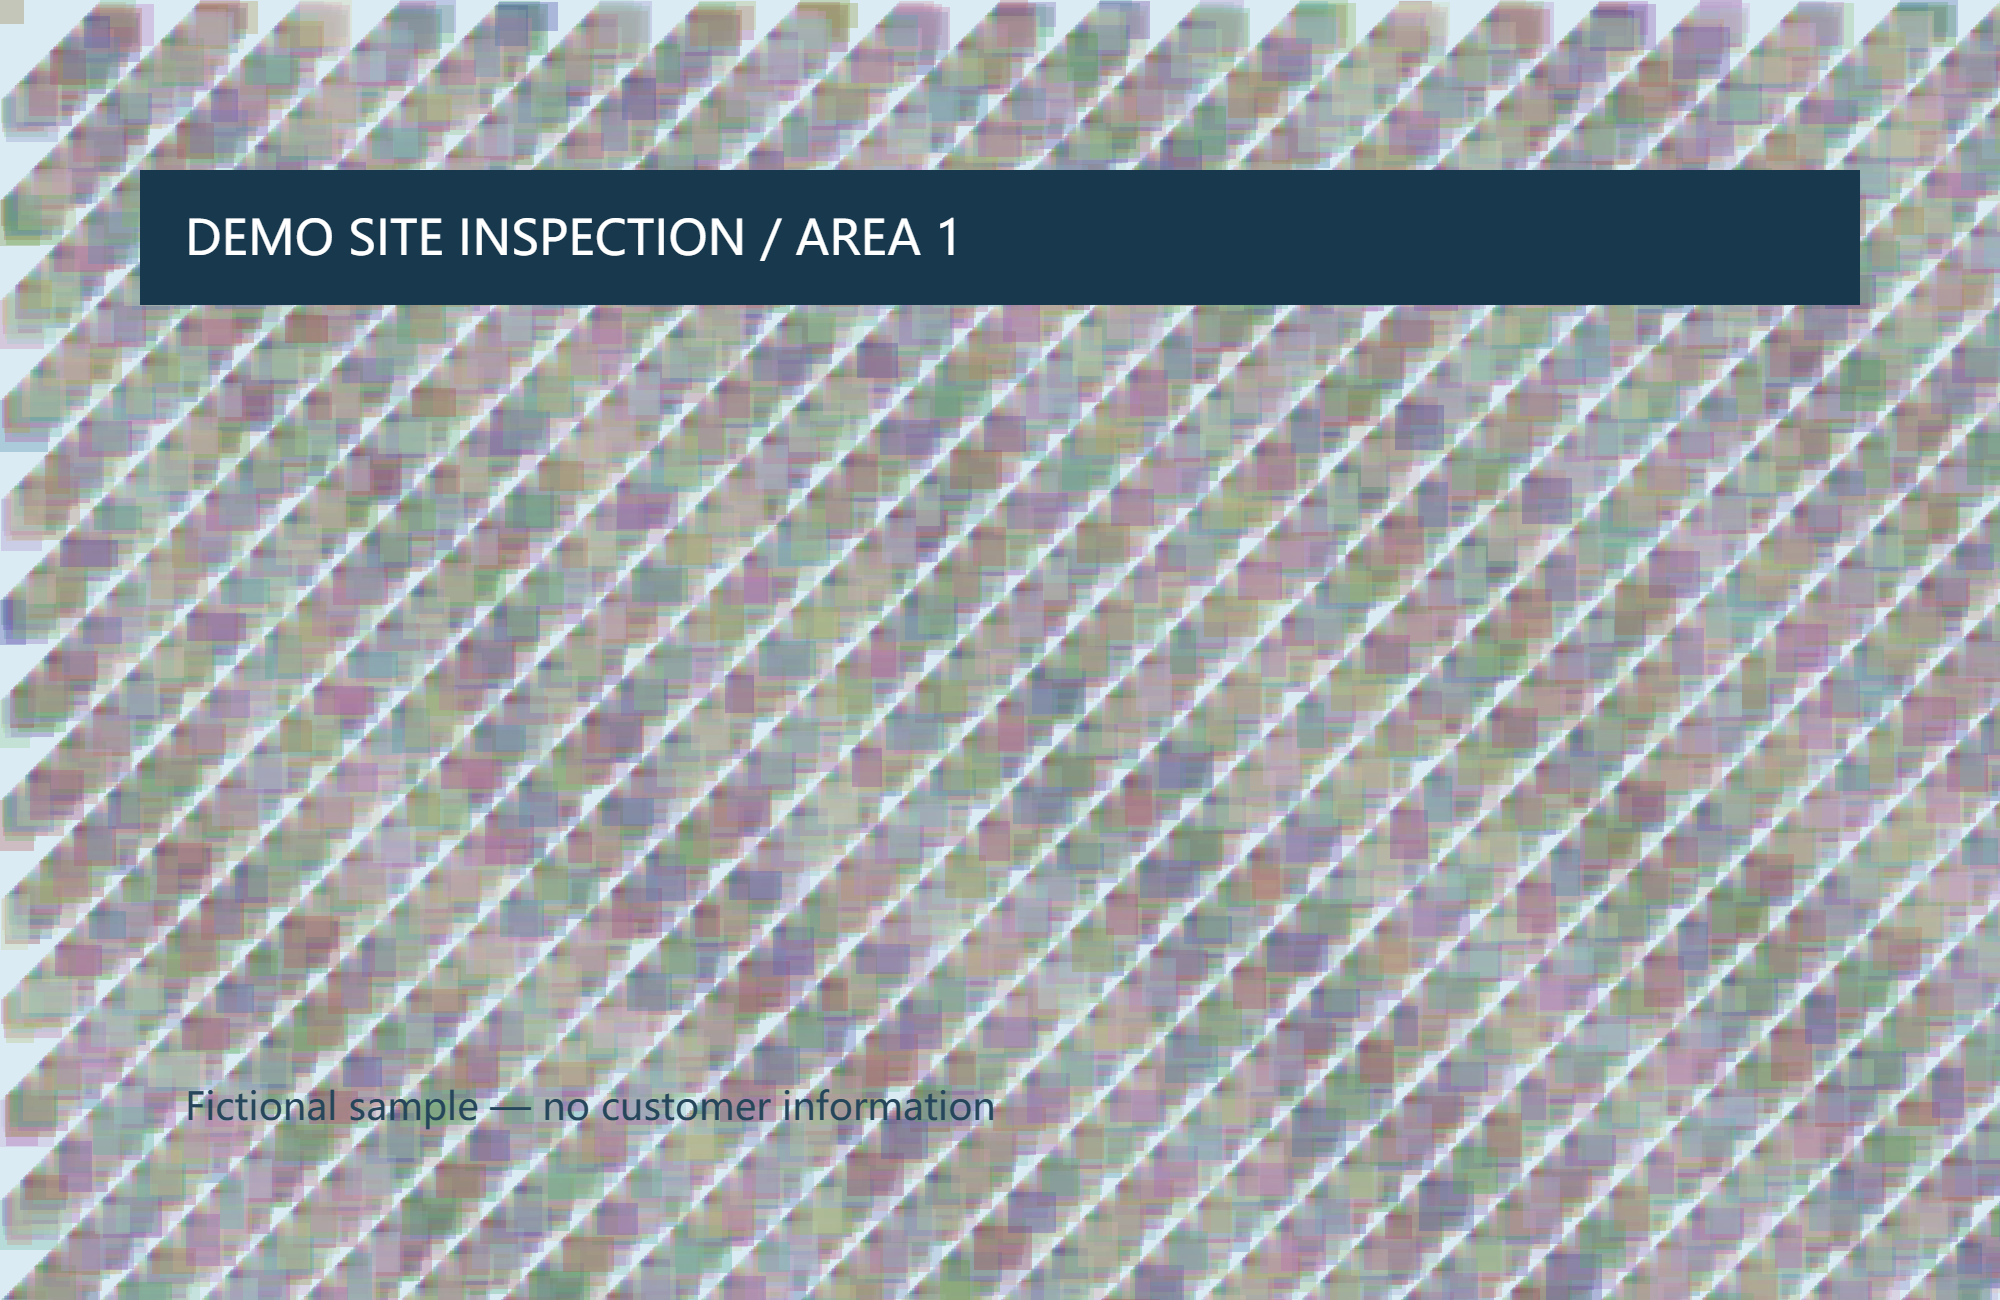
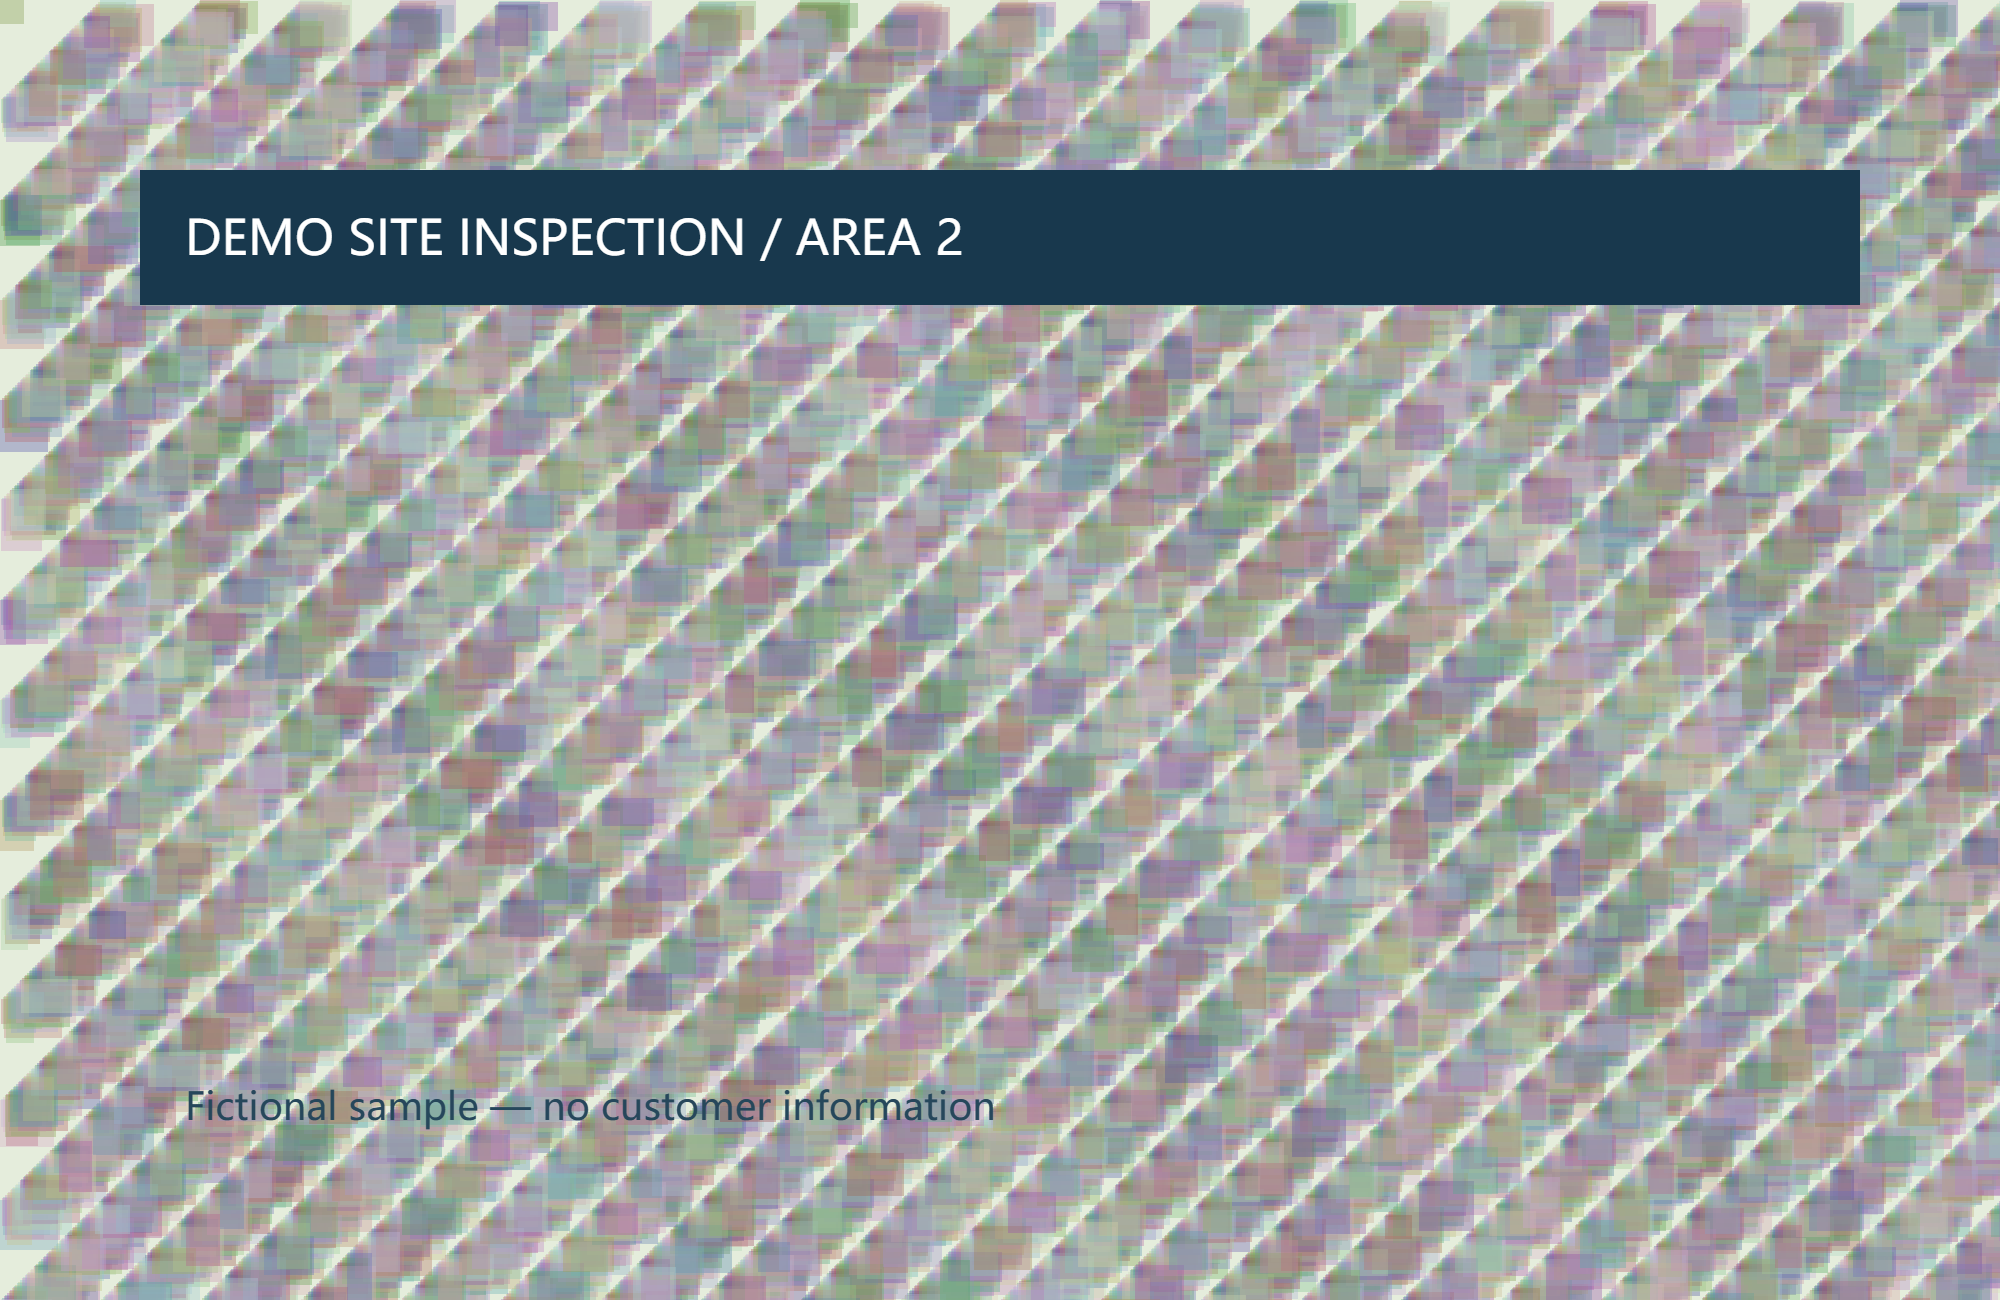
Choose the pictures that belong in the report, then arrange them in reading order in the file list. The example uses three fictional inspection graphics. Add captions to your source images separately if the reader needs explanations.
Follow the steps
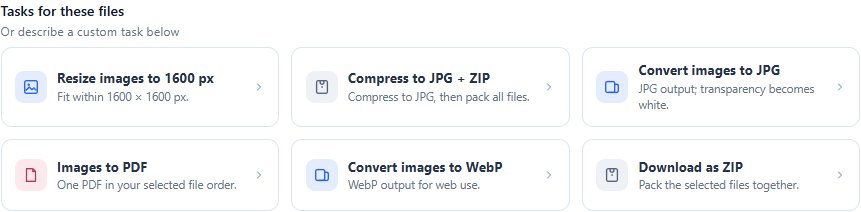
- Open the Workbench and select the images. Check the list and use its ordering controls if the sequence needs to change.
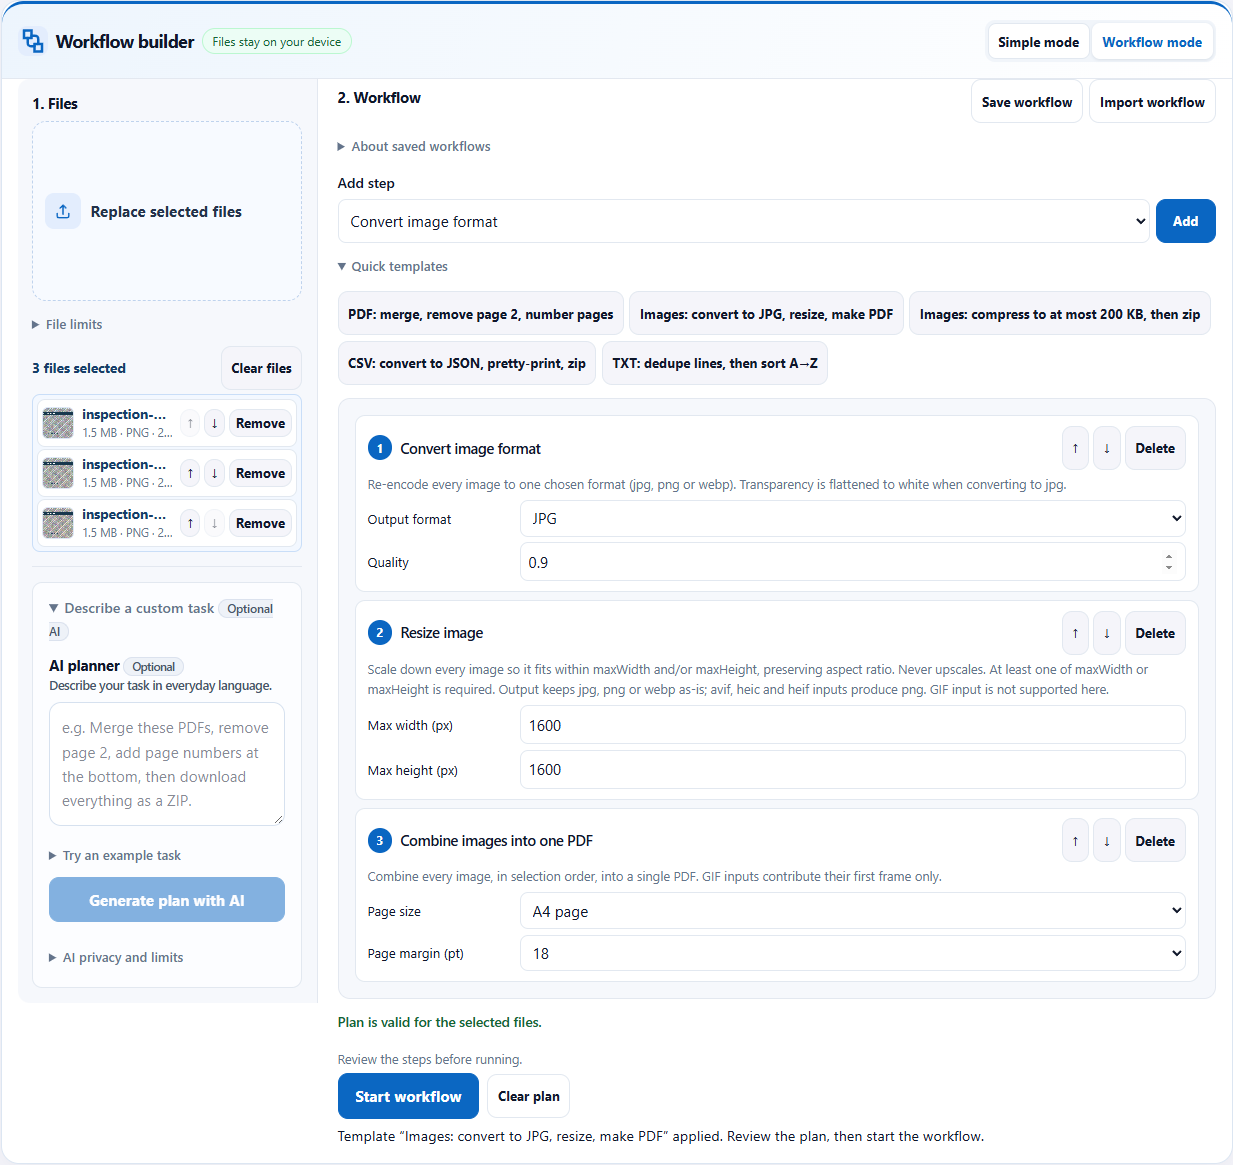
- Switch to Workflow mode, open Quick templates and choose “Images: convert to JPG, resize, make PDF”, or import the workflow below.
- Review the three steps: convert to JPG, fit within 1600 × 1600 pixels, then create an A4 PDF with an 18-point margin. Portrait and landscape pictures retain their proportions.
- Run the workflow and download the PDF when it completes. The input images remain unchanged.
- Open the downloaded PDF in a reader. If you also need page numbers, use the linked page-number tool or add a page-number step after PDF creation.
See the full workflow and parameters
Check before handing off
- Check that every input picture appears once and in the intended order.
- Inspect small labels and details. Fitting inside 1600 × 1600 is useful for sharing but may be insufficient for fine technical drawings.
- Check the page size and margins in a PDF reader before printing or submitting the report.
What the example produced
The three-image example produced one three-page PDF. The output page width was checked against A4. The workflow ran locally without AI planning.
Download the verified example result →
Things to watch
- The template converts to JPG, so transparency becomes white. It does not preserve an editable image layer.
- The result contains pictures, not searchable OCR text, an executive summary or automatic captions.
- This workflow does not set a PDF file-size ceiling. If an email or portal rejects it, check the separate PDF compression tool after creating the report.
Try it with the sample
Download the sample files, select them in the Workbench, switch to Workflow mode and import the workflow JSON. Review the steps before starting.
Download sample files
Or describe the task
Convert these images to JPG, resize them to fit within 1600 × 1600 pixels, and combine them into an A4 PDF with an 18-point margin.Templates and imported workflows do not need AI. AI planning sends your instruction and file aliases, formats, sizes and inspection metadata to the server; file contents, real filenames and paths stay on your device. Review generated steps and leave sensitive information out of the instruction.
Related tools
Screenshots and results come from actual Workbench runs on October 12, 2026, using fictional sample data. They demonstrate these examples; check your own outputs before handing them off.